Blog

Do It Yourself Plumbing Inspection
Do It Yourself Plumbing Inspection
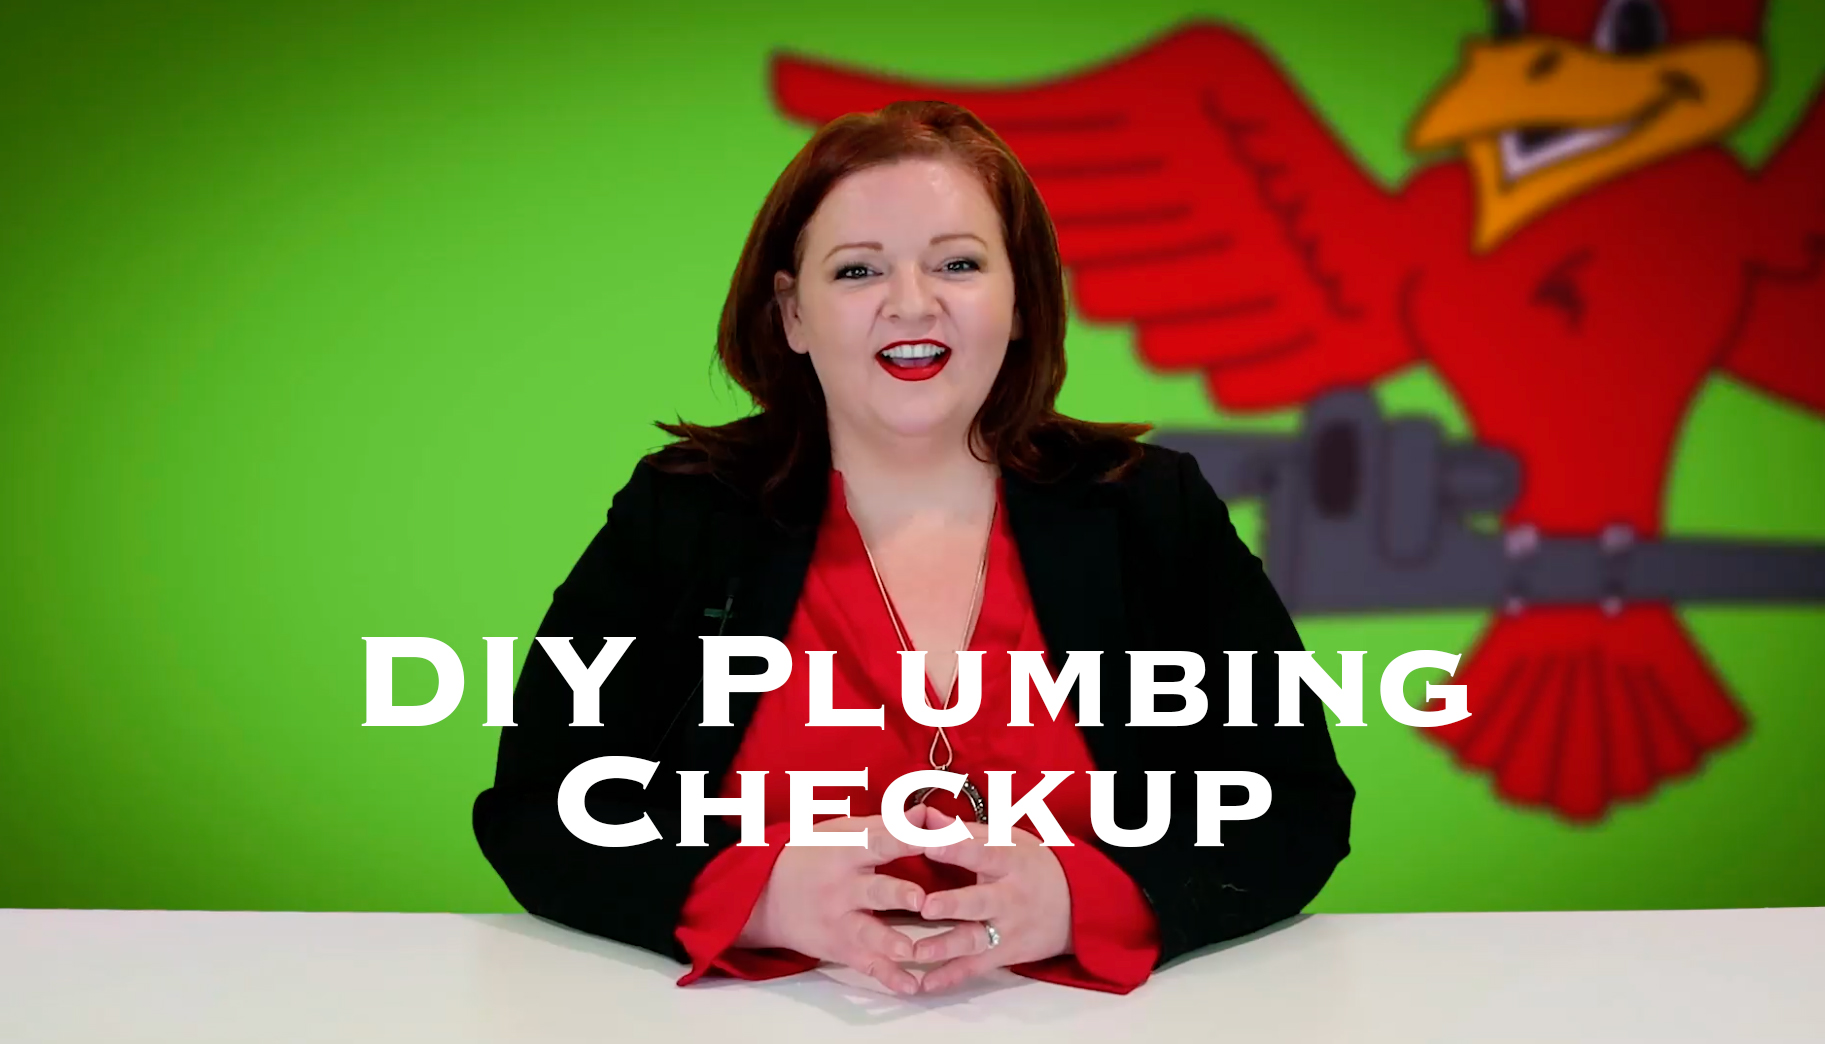
DIY Plumbing Checkup Tips
If you’ve been following us for any time at all, then you’ll know that I am adamant about being proactive rather than reactive. Planning a maintenance checkup (tank and tankless styles) versus being surprised with huge repairs and emergency expenses is always the route I will gladly take. This self-scheduled do-it-yourself plumbing inspection saves a lot of time in the end. In my professional career, I’ve experienced too many costly emergencies ranging from large vehicle repairs to big company bills I wasn’t expecting; likewise, while serving my clients, I see thousands of individuals experiencing massive floods and gaining frustration from their unanticipated budget-busting reconstruction which a little bit of proactive forethought and love can prevent.
My Favorite Proactive DIY Plumbing Inspection Plan
A majorly important DIY tip, which is notably my most favorite, to save a lot of money and gain peace of mind is to perform simple quarterly and annual checkups of your exposed plumbing components. I recommend this proactive plan to all of my clients and I personally do this at my own home. It’s a quick, easy process and the only “tool” you’re going to need is a roll of clean paper towels, so let’s get started!
-
Shut Off Valves Under Sinks and Toilets
A leading cause of preventable floods in Phoenix is leaking angle stops and supply lines. Angle stops are the tiny shut off valves that are under all of your sinks and behind your toilet. These valves isolate the water going to the hot and cold side of your faucets, as well as isolate the water going to your toilet, allowing you to shut those sources of water off at the plumbing fixture rather than having to shut off the water to your entire home– this is especially useful when there’s an issue with only one fixture such as a dripping faucet or a running toilet. Having this kind of control allows you to temporarily handle the situation while you schedule Robins Plumbing to come out and fix the issue.
The supply line is the water line that connects the angle stop to the fixture– this can look different in each home depending on the age and style. Corrugated metal, rubber tubing, or braided stainless steel like the ones we provide and install are examples of supply lines.
Angle stops and supply lines can leak slowly at first and then, overtime, that small leak can turn into a massive flood. Catching these leaks in your DIY plumbing inspection while they are a small drip makes it much more simple for our team of experienced technicians to replace without any property loss. This is why it is very important to check on these angle stops and supply lines on a quarterly basis for even the smallest of leaks.Inspecting Your Toilet
First, you will want to make sure that the shut off valves are in good working condition by turning them off and ensuring that they shut the water off to the fixture. Working the valve in this way keeps it from seizing open or shut over time. Next, turn the angle stops back “on” and ensure that the water has returned to the fixture.
Now that the angle stop is on again, take a clean paper towel and gently wipe all around it. You’ll then want to gently hold the paper towel at the base of your plumbing fixture, such as your faucet or toilet, and then work your way around the entire valve to ensure the paper towel is still clean and dry.
If you notice any moisture on the paper towel, then it is time to be proactive and give us a call! We will schedule a repair for you while the leak is small before it becomes larger and potentially causes damage to your home. A small drip can quickly escalate into a pinhole leak and then can become a flood while you’re at work or sleeping– this will cost thousands of dollars in damage to your home.
These lines and valves are under constant pressure which is another reason why regular checkups are so important. The PSI of your home ranges, but the majority within the safe range in Phoenix vary between 60-80 PSI which is a lot of pressure on a small drip– that is why these small problems can quickly mean big bucks.
-
Water at Toilet Tank
Another place to check with your magic paper towel in your DIY plumbing inspection is at the connection of your toilet tank to your bowl. This is known as the “tank-to-bowl” connection, and while this doesn’t typically cause large floods, checking it while you’re examining your angle stop and supply line can, and should be done. Another connection known as the “tank-to-bowl kit” is what holds your toilet tank and bowl together. This kit consists of a gasket, bolts, nuts and washers which are important to make sure your toilet’s seal is holding strong. Another component that comes into play when checking your toilet for leaks is the porcelain itself. The base of your toilet is the most common area for porcelain cracking due to leaning against the tank and putting pressure on the porcelain against the connection.
You’ll be thankful for catching a crack in your toilet right away because if the porcelain gives way on the tank completely while you’re gone, there’s a lot of potential for major flood damage. Still have a dry paper towel after making all of these revisions? Great, you’re good to go for another quarter! If you detect any moisture on your paper towel, then it’s certainly time to give our experienced team a call to get the problem remedied right away.
-
Inspect Water Heater, Water Softener and Water Filtration
Your home should have a shut off valve at the water. This valve is important in case of an emergency and should be checked for working conditions and leaks regularly. Typically, you can find your water heater shut off valve near the top of your water heater on the cold inlet side.
Examine Your Valves
The color handle may vary depending on brand, so if it isn’t blue don’t worry because it isn’t that relevant. Your valve will either have a lever or circular handle on it. “Ball valves” can be identified by their lever handle; these valves usually last a very long time, but it is always better to err on the side of caution rather than chaos, so let’s make sure it is in good working condition by exercising the valve. We can do this by turning it off and back on, followed by using our handy paper towel to make sure there isn’t any moisture.
A “gate valve” is distinguishable by its circular handle. It has been our experience that these valves can be less reliable if not used regularly or checked by turning them off and back on again on a regular basis. Furthermore, these gate valves often seize in times of emergency if they have not received use regularly. You’ll want to check this valve consistently for moisture to ensure that it isn’t leaking, especially if it is an older valve that hasn’t been put in use for a very long time. Corrosion around these valves is also a sign of leaking and an indicator that it is time to call our team out to replace these valves before they turn into a major, under pressure leak.
Inspect Connections to your Water Heater
While you’re at your water heater during your DIY plumbing inspection, you’ll want to check all of the water connections going to your water heater and away from it for any moisture as well. Water heater flex lines and other connections can have pinhole leaks that start as drips and quickly turn into burst pipes under pressure.
Something else to check while you’re near your water heater is any softening or water filtration devices you may have. Softening and filtering devices are also under pressure and, like all of the other plumbing in your home, it is necessary to examine these regularly for moisture and leaks. -
Water Around the Disposal
While you are under your kitchen sink checking the angle stops and supply lines, this is a prime time to check around your garbage disposal for any moisture. Something else to keep an eye on is the development of leaks on the side of your disposal. Depending on the materials your disposal is made of, it is a common issue for the sides of garbage disposals to literally corrode from the inside out, thus creating leaks. If you see whitish-grey spotting or corrosion appearing on the disposal, then it’s time to have our team take a closer look.
-
Washing Machine Bibbs and Lines
Most people don’t even remember the washing machine when they think of plumbing, which is unfortunate because those hoses are one of the leading causes of floods in the Phoenix area. Most manufacturers will recommend changing the hoses every 5 years, regardless of condition. Ok, by now you are probably getting the hang of this. Grab a clean dry paper towel and start wiping off the valves behind your washing machine, and hopefully the valves are reachable without having to pull out the washing machine. Take a look over the top and make sure to check the connections from the hose to the washing machine, too. If you can’t remember how long it has been since replacing the washing machine hoses, then it might be a good time to trade out the old and bring in the new just to be safe.
-
Drips at Faucets and Hose Bibbs
How long has that faucet been dripping, anyway? It may not seem like much, but it adds up quickly, and to make matters worse, letting that faucet drip for too long will make it more difficult to repair or for the repair to hold long term. The best visualization for this would be the Grand Canyon– it might seem like an extreme example, but no matter how you look at it, water carved the canyon. The longer you let the faucet leak, the more pitting it does to the faucet base, or your “canyon”, and this is not a good thing.
Your outside hose bibb is another fixture to examine and properly maintain. Letting it drip without repair will not only affect the water bill and landscaping, but will also attract puddle-loving mosquitos. Not to mention bees, wasps, hornets, and termites are all attracted by mud.
Done With Your Check Up?
Hopefully everything is in good shape and your plumbing is one less thing you have to think about, at least until next quarter’s DIY plumbing inspection. If you did find any issues, then make sure to give Robins Plumbing a call and we will get your plumbing system back to tip-top shape in no time!
Services in Phoenix & Beyond
Did your do it yourself plumbing inspection turn up something that needs attention? When you’ve found yourself in need of plumbing services in the Phoenix, Glendale, Scottsdale, or Chandler area, you can trust Robins Plumbing to provide you with prompt and expert care, contact our team today! In addition to our toilet services, we also offer a variety of residential and commercial plumbing services, including: drain cleaning, water heater repair and replacement, sewer camera inspection and locating, backflow prevention, commercial and residential jetting, water treatments, and more. Visit our reviews online to see what others have to say about our local plumbing company!
Categories
We Specialize in All Your Plumbing Needs
Below are just a few of the services we offer.
We are licensed, bonded and insured experts here to help you with all of your residential plumbing needs.
We are licensed, bonded and insured experts here to help you with all of your commercial plumbing needs and we will get your business back up and running.
From whole home filtration systems to just having clean purified water at your kitchen sink, we're here.
You can count on us to handle your drain cleaning with quick, affordable and reliable service.


